jQuery get File Name, Type: This article explains how to get the file name, file size (in bytes), file type (Text/PDF/CSS files), and total selected file counts in jQuery before uploading it to the server.
Basically, when the user selects any files using the input file tag we will display its name, size, and the total number of files selected.
Using the File interface, we are able to get the information about files and allows to access their content.
Step to show the file name, size, count before upload
- HTML markup: Add input tag, with multiple attributes.
- jQuery code: To access file content using File API.
Output: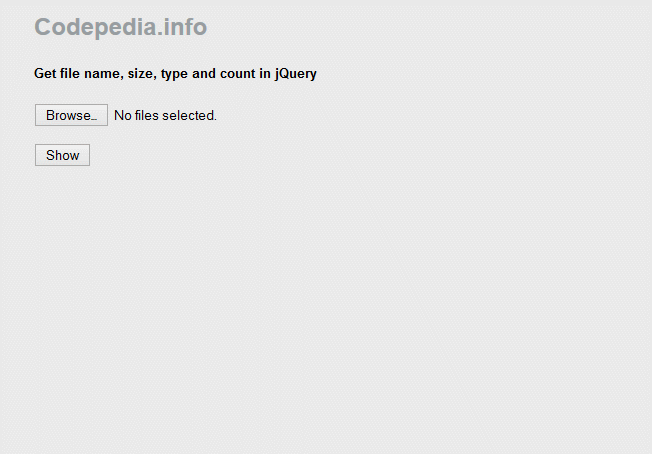
# Html Markup:
Here's first we add an input file tag, a button tag, and a UL list tag.
To make multiple file selections we need to add property multiple (HTML5 attribute) to our file tag. UL tag is used to display each selected file information .i.e (name,size,type).
Using Html5 FileReader we can also preview images before upload them in jQuery.
Our HTML markup looks as written below.
<input id="fUpload" multiple type="file" /><br />
   <ul id="ulList">
   </ul>
<input id="btnShow" type="button" value="Show" />
#jQuery code: to get file info (name,size,type)
Here first we check for file length i.e is any file selected, then only will make a for loop to get access to file information.
The final code looks like as shown below.
//*
$("#btnShow").on('click', function () {
    $("#ulList").empty();
    var fp = $("#fUpload");
    var lg = fp[0].files.length; // get length
    var items = fp[0].files;
    var fragment = "";

    if (lg > 0) {
        for (var i = 0; i < lg; i++) {
            var fileName = items[i].name; // get file name
            var fileSize = items[i].size; // get file size
            var fileType = items[i].type; // get file type

            // append li to UL tag to display File info
            fragment += "<li>" + fileName + " (<b>" + fileSize + "</b> bytes) - Type :" + fileType + "</li>";
        }

        $("#ulList").append(fragment);
    }
});
//*Yeah, we are done now, this is how we get the selected file name and other properties in jQuery.
You can also check these articles:
- Easy way to upload bulk images in Asp.net c#.
- Upload and resize an image in Asp.net using dropzone js.
- Preview Image before uploads it with jQuery in Asp.net.
Thank you for reading, pls keep visiting this blog and share this in your network. Also, I would love to hear your opinions down in the comments.
PS: If you found this content valuable and want to thank me? 👳 Buy Me a Coffee
Post Comment
Your email address will not be published. Required fields are marked *